
After buying our house in June of 2016, I knew for sure that the pretty (shabby) sun porch would make an adorable statement in our new place! Unfortunately, there were many other projects that took precedence before we could get to it. (Insert what feels like years of blog posts here about endless home reno project trials and errors). Fast forward to May of 2017 when I finally had the time and resources to tackle this run-down space!
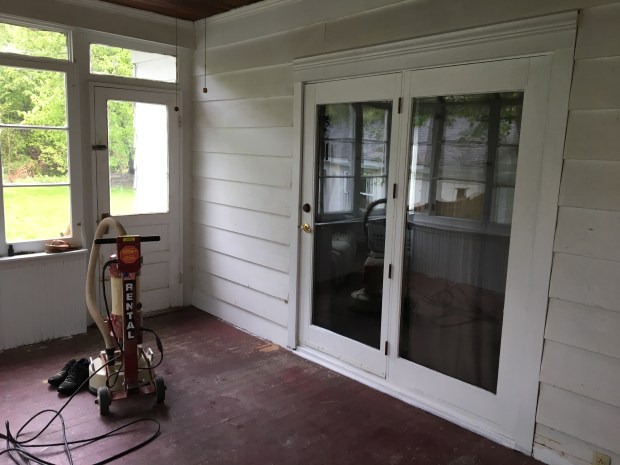
This little sun porch connects our living room through a big double window/door combo to the outside world. We are constantly walking in and out of this space, whether it’s to go to the back yard, to the garage on the side of the house, or simply just letting the dog out. Needless to say, after the one-millionth time of walking into that room I could not WAIT to start it’s reno. See for your self: (disclaimer – I’m sad I didn’t take more photos of this space before the reno started, but here are some of what I have!!)


A quick disclaimer about our house: it. is. old. In fact, it is coming up on it’s 100th birthday! With that being said, over the years it has settled, cracked, been painted, and painted, and painted.
The beadboard walls underneath the massive original 1930’s windows were painted a deep green that desperately needed to be refreshed. At first, I thought of painting them a blue/gray for a bright pop of color, but then I remembered how I tried painting my kitchen blue before we agreed on Sherwin Williams’s Agreeable Gray, and I quickly changed my mind. I decided to keep the walls white and somewhat distressed, and let the accents do the talking.
Opposite of the walls of windows is one large wall which is the side of our house and door to the living room. We have cedar wood siding that is painted white on our entire house which is also in this room. Although it looks like it needs a touch up of paint, I decided to leave it for now. It has some scuffs and scratches on it that make me feel the longevity of the house and gives it a rustic flair. I love incorporating the new with the old. Maybe some day I’ll cave and give that wall an update, but for now I kind of like the “dirty” look, as my mom calls it. 🙂
When it came to the flooring in this space, we were so excited to see that the same original Douglas Fir hard wood flooring that we refinished in our kitchen was laid in this room as well (which is weird, because the rest of our house is oak, but that’s a story for another day). Unfortunately, as I mentioned, everything had been painted over and over in our house, including the floor in the sun porch. We tried everything. Stripping the paint off helped some-what, but there were probably 4 or 5 coats of paint and our patience was wearing thin. We rented a floor sander, but that just gummed up the sand paper too quickly from the multiple layers of paint. We tried using a palm sander, but that didn’t do it either. Usually I don’t like to rush things, but we were on a bit of a time crunch as we had family coming into town for our wedding within a week of this flooring episode, so we decided it was just best to paint it. We settled on a reddish/brown shade of floor paint and called it a day. Still bummed about it, but it looks better than it did!
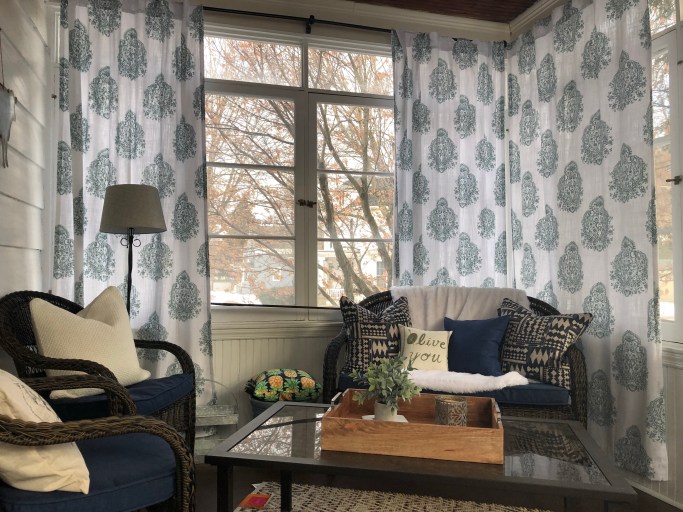
One of my favorite projects for this room was the curtain rods! I’ll eventually have a step by step post of how to accomplish this look, and it was so easy! I’ve heard that you can make seriously inexpensive curtain rods out of PVC pipe and I knew that: 1) we had a wedding to pay for and curtain rods weren’t a priority, and 2) I really wanted curtain rods because I already found the perfect curtains from Homegoods! Needless to say, I made it happen! Since I needed close to 20′ (yes, feet) of curtain rod, I knew I had to keep costs down some how. Ultimately I want to say they cost me under $20 total, and they look amazing! You can barely tell that they’re made out of PVC pipe because I spray painted them! If you have large windows that need costly curtain rods it is definitely worth it to DIY, and if you don’t like them you’re only out a few bucks!
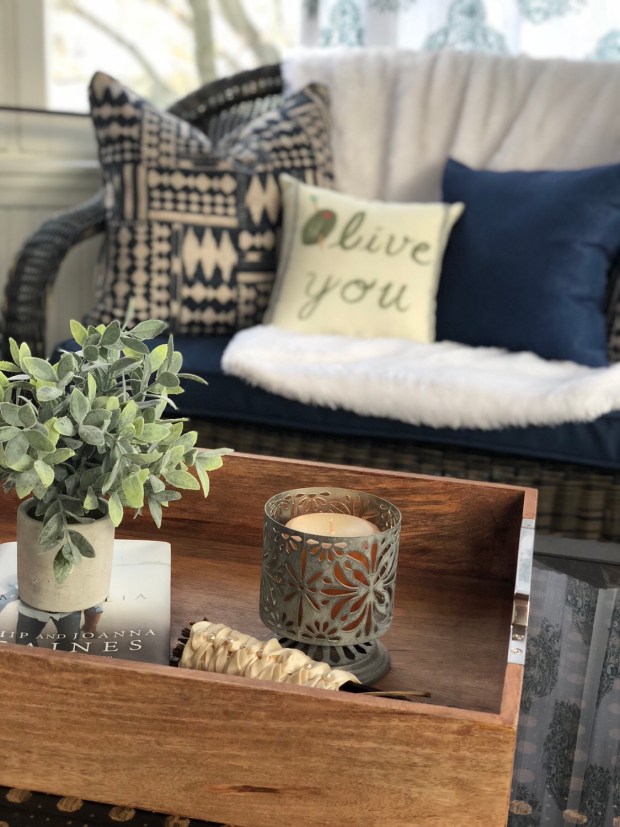
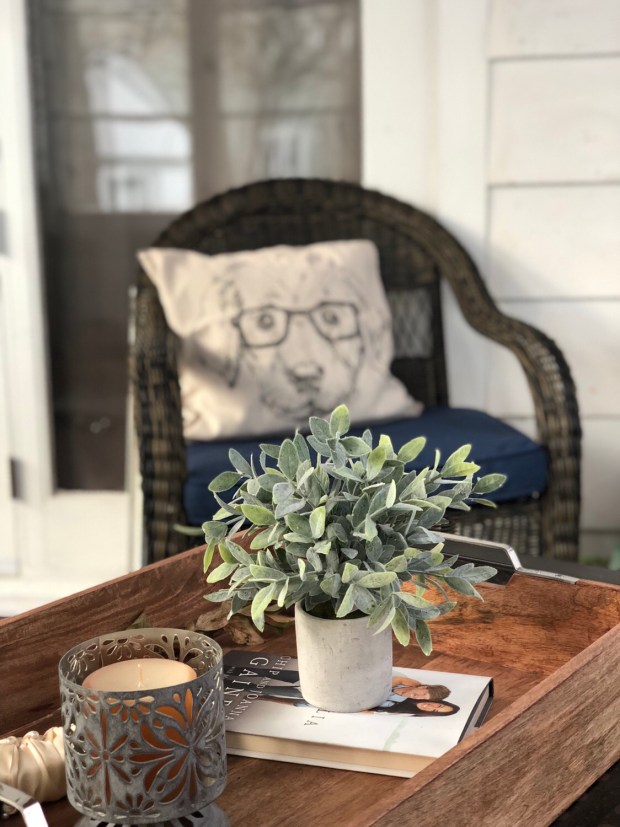
The finishing touches were the most fun in this room. As I mentioned, I really wanted the accessories to do the talking. I ended up purchasing some brown wicker furniture from Lowe’s when they went on sale along with a glass coffee table, and decided that pillows were going to be my best friend. I can sometimes have a hard time committing to design. Accessorizing with pillows is ideal for me because they can be covered with different prints and colors, so you can update them and constantly change up the design if you want to! I got most of my pillows from Homegoods as well (okay, half of my house is from Homegoods, you caught me)! I decided to go with a neutral rug (which I’m still not sold on, but it works for now).


I have some additional pieces and accessories I got locally, too. My mom had this antique bench built for me out of a twin sized head board! I absolutely love the color and character it brings to the room, I’m all about the unique details, especially circular posts whether they’re at the top as an accent or the anchor as feet of furniture!
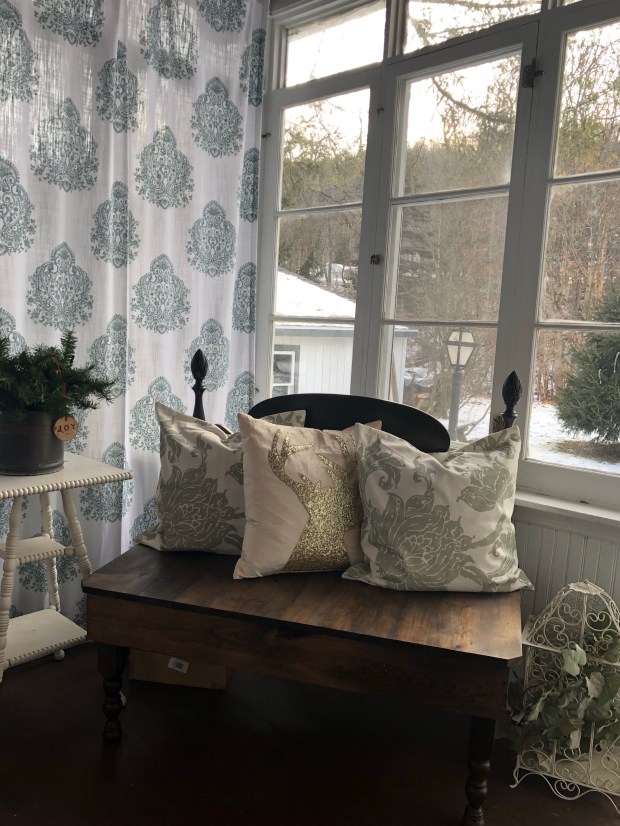
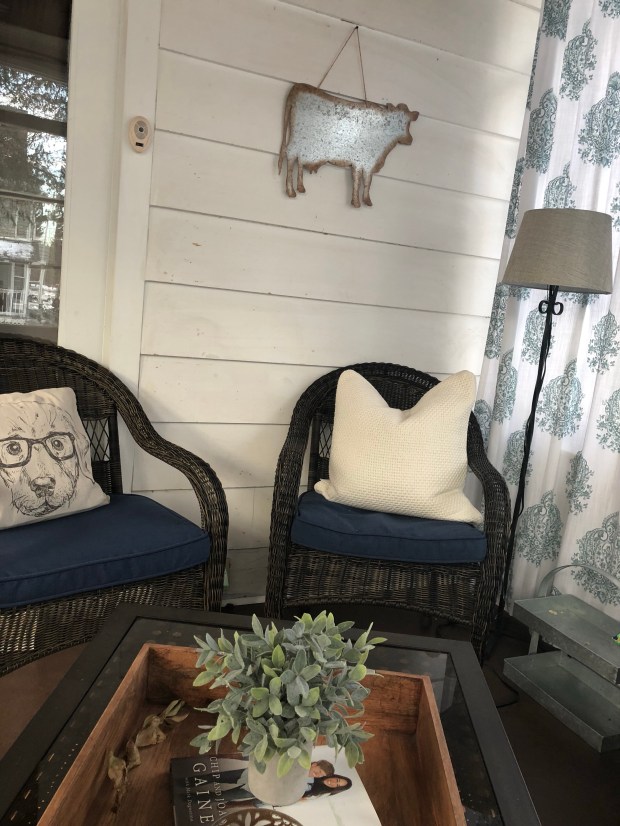
If you ever find yourself with a sun porch that needs some major TLC, here are some tips you may find helpful!
- Don’t stress. This isn’t a main living space, and that’s something I had a hard time accepting! It will come with time.
- Go neutral! This tip isn’t for everyone obviously, but I found it so helpful in this room not to have to match everything with the walls! Leave yourself wiggle room in the color department, you’ll be glad you did when you want to decorate for different seasons, holidays, etc.
- Spend smart. Probably the most expensive part of this room was replacing the ceiling fan. The rest came with time. Trust me, I’m one to want everything to look as Pottery Barn as possible as quick as possible, but that I’ve found just isn’t realistic. You can build your room to your liking through the course of a few months (and a few paychecks)!
Have fun, xxx!

 The Belle Journal